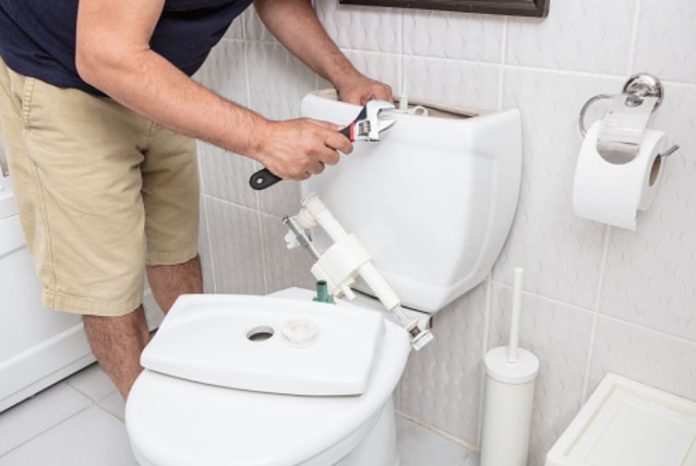
Replacing a toilet is not that difficult. You should allow about four hours, which should be more than enough time to make the switch over.
Before you purchase your toilet, you will want to measure the distance from the wall to the two bolts at the bottom of the toilet that are securing it to the floor.
This is called the rough-in measurement and is generally twelve inches. Be sure to let the salesman at the store know this so you can be certain the toilet will fit.
To begin removal of the old toilet, first turn off the water supply and flush, holding the handle down to remove as much water as possible.
There will be some remaining, so be very careful when carrying out the old toilet. It is a good idea to put a plastic liner down over any carpet you will be walking on while carrying the toilet outside.
Remove the bottom nuts and carefully lift the toilet. Carry it outside immediately, taking care to keep it as level as possible to prevent water spills.
Check over the existing plate for cracks. If it passes inspection, you can reuse it. Carefully clean off any wax residue from the old wax ring.
Make certain the plate is securely attached to the floor and not loose. If the current plate is below the existing floor, you will most likely need to get an extended wax ring and longer bolts.
Place the ring on the plate, flat side down, and make certain it is properly centered. Carefully lift the toilet and set it down on the ring, making certain the bolts come through the holes properly before actually resting the bowl on the ring.
This is very important. You do not want to rock the toilet in order to seat it to the wax ring or you may end up with a leak. Press down on the toilet evenly until it makes full contact with the floor.
You have two washers. Take the tap washer first and put it over the bolts. Look carefully at the instructions to see the proper way this slips on. Slip-on the metal washer next. Put on the nuts and hand tighten.
Begin to tighten the nuts with an open-end wrench, alternating between the two nuts, until the toilet is secure.
You can take a mini hacksaw and cut off the excess portion of the bolts in order to finish the installation by putting on the plastic cap that covers the nuts.
Place that into position and simply hit it with your hand to set it. It’s not a bad idea to complete water installation and testing before cutting the bolts in the event you have leaks and need to redo the installation.
Hook up the water supply hose and turn the water back on. Let the bowl fill and flush. Check for leaks. If it passes inspection, your job is complete.

