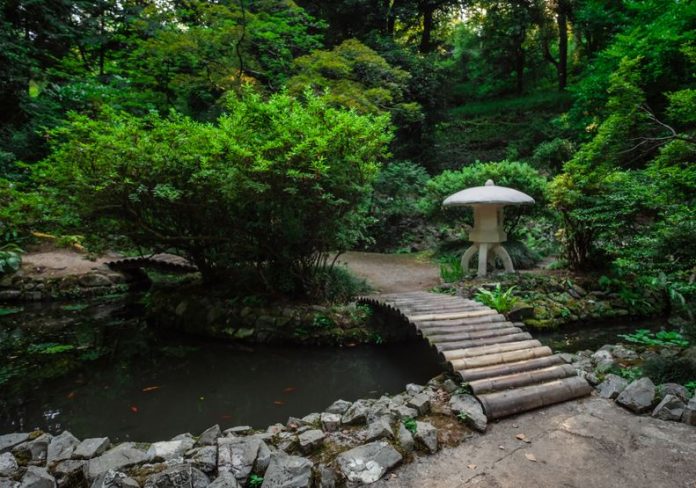
Building a backyard pond can seem like something that might be better left to the professionals; particularly when you begin reading the various books on pond building.
The fact is you can do it yourself if you follow a few simple guidelines.
The first step is to layout the pond area. The pond should be the focus of your backyard. Use spray paint and paint the outline. Your pond is going to have a much more natural look if you use a heavy-duty pond liner rather than a plastic shaped insert. You can also get more of the shape you desire when you use a liner.
You can find liners on the Internet and, in fact, many of the companies selling liners have a section where you can determine the size pond liner you need by calculating the length of the pond times the width times the depth. If they do not have an online calculator, call them. They should be happy to help you.
Here’s where many books make building your pond sound daunting. They mention digging layers and making certain they are level. The layers allow you to put in plants according to the recommended depth. You can also lay in some rock or gravel and give a tiered look.
Leveling layers is good but don’t worry about getting too carried away with perfection. Take some flower pots and see if they sit on each layer without too much problem and, if they do, you’re good to go. Some plants will go in the deep end while some are better suited for shallower water.
As far as the overall pond, obviously, when the water reaches the top it will overflow, so if one side is higher than the other, it will not top off on that side.
That is still not a problem. You may have your pond on a slope and find it nearly impossible to have the top-level all around without major excavation. Don’t worry about it. That adds an interesting look to your pond. In nature, you will not find perfection.
Dig the top layer down about six inches all around, following the shape you chose. Decide how you want to tier it. Somewhere you should reach a depth of at least two feet so the fish have some protection against the heat and to hide from predators. The center of the pond is perfect for this and will make it easier to put in the liner. Dig down at least 2 feet.
The digging is going to be the most physical part of this job if you are using a shovel. In this case plan on spreading this out over a couple of weeks. Don’t rush it.
When you are satisfied with the final look, lay your liner over the entire area. After spreading it out, it is a good idea to allow it to sit for a half-hour or so until it becomes pliable. Then roughly lay the liner to fit the layers. Attempt to remove as many wrinkles as possible but, again, some wrinkles will occur so don’t panic. Once rocks and plants are added, they will not be that visible.
Start to fill with water and plan on entering the pond and smoothing the liner as the water fills. This is the fun part. Some liner manufacturers recommend you fill the pond then drain it and refill to protect the fish. Rather than doing this, find a liner that is rated for fish protection and you can eliminate this step.
It’s a good idea to have plenty of rock nearby. Large rocks mixed with smaller rocks. Placing some rocks as you fill the pond will help you get the liner to lay as you want and also add that special touch you are looking for. Once the water fills in, the weight of the water will take over.
When you finish filling the pond, add some plants and your filter and pump. You can create a waterfall if you like, or a small stream; many people like some of the special bubbles and other water effects you can get with special filter hookups. Begin laying out rock to add that natural look.
Wait twenty four hours to add fish. As time goes on the chances are you will make a few changes here and there. That’s one of the fun parts of having your own pond.
Now, grab an iced tea or a beer and enjoy!

